If you’re planning your first night off-trail or you want to sharpen your backcountry routine, this guide to wild camping essentials pulls everything into one place so you can plan smarter, carry less, and sleep better outdoors.
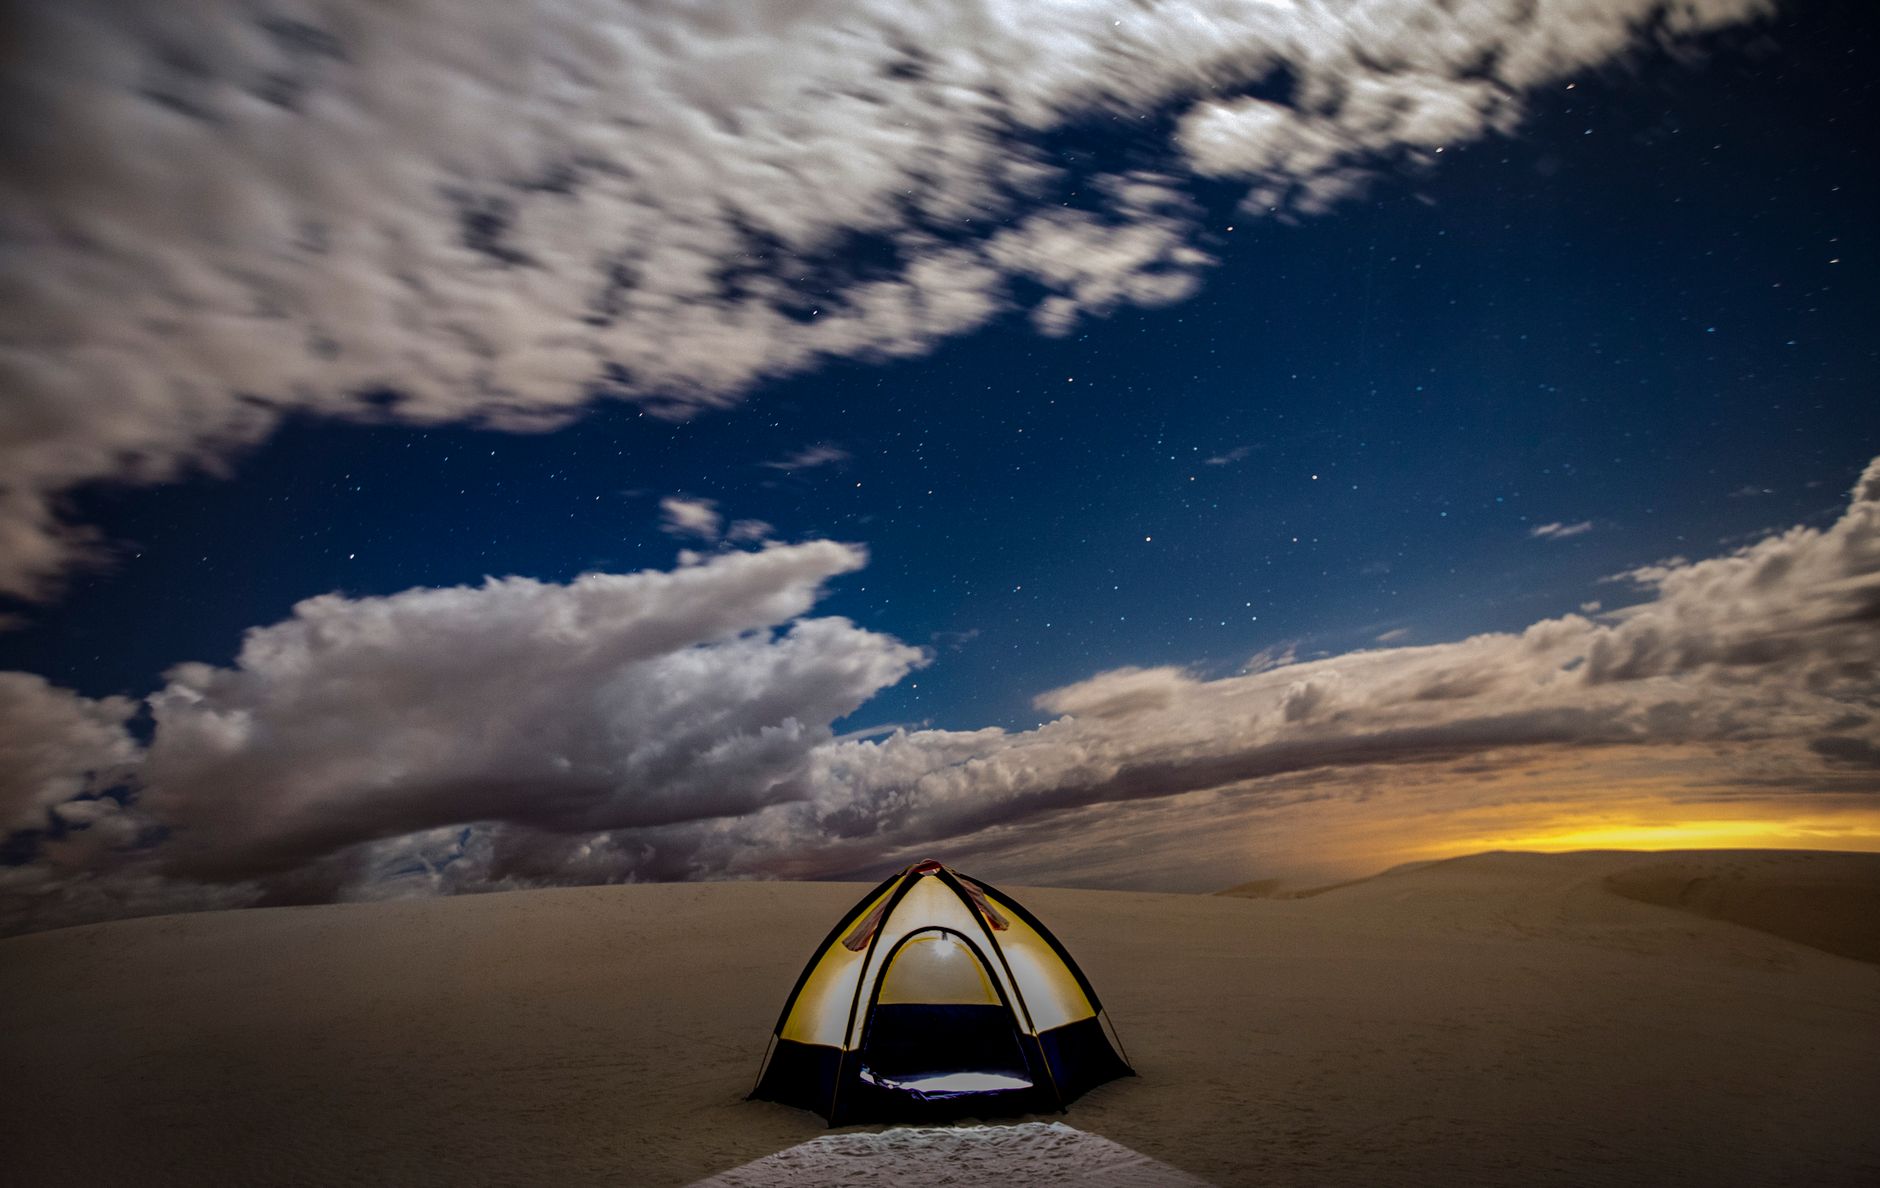
Wild camping is about self-reliance, discretion, and leaving places as good as you found them. Done well, it feels simple: a quiet pitch, a clean camp, a good sleep, and a sunrise no one else sees. Done poorly, it’s stressful, heavy, and sometimes risky. The difference isn’t luck. It’s systems. This guide builds those systems: how to plan, what to pack, how to set up, how to cook and hydrate, how to check risk, and how to leave without a trace. You’ll also get checklists you can print or save to your phone, plus maintenance habits that keep your gear ready for the next loop.
Throughout this article you’ll find reference links and reminders to practice locally before you go remote. For more topic pieces and field notes, the Wild Camping hub at Best Sports Health is a good internal starting point.
wild camping essentials: what it really means
Ask five people what “wild camping” means and you’ll get five answers. For this guide, it means sleeping outdoors away from formal campgrounds, carrying everything you need, and relying on your own judgment for site choice, water, food, and safety. That includes bivvying on a ridge, tucking a tiny tent in a forest hollow, or cowboy camping under a clear sky. The shared thread is low impact and low profile.
Three principles underpin the practice:
- Self-reliance: You can meet basic needs without external support. That means shelter that works for the forecast, enough insulation to sleep, a reliable heat source for cooking if you plan to cook, and the skills to manage problems like wind, rain, or a wet sleeping bag.
- Discretion: Site choice and behavior that keep you and the land out of trouble. You arrive late, leave early, avoid highly visible spots, and respect local laws and customs.
- Stewardship: You protect the place you’re visiting. That means Leave No Trace habits, wildlife awareness, and minimal impact fire and cooking methods.
Everything else in this guide distills into those three ideas. If any step you take increases self-reliance, discretion, or stewardship, you’re probably on the right track.
Planning that makes the night easy
Good nights start long before you zip the bivvy or stake a tent. A simple planning sequence removes guesswork and trims weight:
- Set the goal, not the route: Decide the experience you want first: quiet forest, windy ridge, beach cove, or a short microadventure after work. Then pick a route that serves that goal. This prevents “mission creep” gear decisions.
- Check access and norms: Research land ownership and local expectations. In some countries you need explicit permission; in others, there are accepted norms. If in doubt, default to permission, discretion, and minimal impact.
- Pair maps with reality: Use a topo map and satellite imagery together. Topo shows contour and streams; satellite reveals clearings, tree cover, and likely human activity. Mark 2–3 backup sites.
- Weather window: Scan 3–5 days of forecasts. Note wind direction (affects shelter orientation), overnight low (sleep system choice), and precipitation (surface water availability and site drainage).
- Time budget: Work backward from dark. If sunset is 20:15, plan to arrive by 18:45 to allow scouting and setup in daylight. Night setup doubles error rates and stress.
Write your plan in three lines on paper or your phone: route and backups, weather low/high and wind, water plan. When you can read your three lines and know what you’ll do, you’ve planned enough.
Reading terrain, picking sites, and finding water
Wild camping lives or dies on micro-choices. A site ten meters to the left can be colder, windier, wetter, and noisier. Train your eye for these signals:
- Wind breaks and high ground: Use small ridgelines, shrub bands, or boulders to interrupt wind, but avoid tops of ridges in unsettled forecasts. In calm weather, higher ground reduces condensation.
- Drainage and frost: Depressions collect cold air and water. Follow vegetation clues: lush grass can mean damp ground. Choose gentle convex knolls for drier sleep.
- Canopy and sky exposure: Under trees can reduce radiative cooling and wind, but increases drip and risk from dead branches. Scan for dead limbs before committing. In open sky, pitch tight and aerodynamic.
- Surface and slope: A slight slope is okay if you orient feet downhill. Clear sharp debris; a groundsheet protects inflatable mats. Test lay before committing stakes.
- Water proximity: Camp at least 60–70 meters from water courses to protect riparian zones and avoid cold sink effects. Fetch water and return; do not camp on the bank.
Water strategy combines sources and treatment. Streams and springs are ideal; lakes and ponds often have more sediment. Carry redundancy: a squeeze filter plus chemical drops, or a gravity filter plus the ability to boil. In cold weather, keep filters warm so they don’t freeze internally, which can damage them. Where sediment is heavy, let water settle in a bottle before filtering to extend filter life.
Shelter, sleep, and clothing: a system not a pile
Most pack weight and most comfort live in three systems: shelter, sleep, and clothing. Think in components that interlock instead of standalone items.
Shelter: Your options range from a tarp or bivvy to a single-wall or double-wall tent. Choose for forecast and skill:
- Tarp: Ultra-light, flexible pitches, fast to deploy. Demands good site choice and practice. Pair with a bivvy for bug protection.
- Bivvy: The smallest footprint, stealthy, and quick. Best for short, dry nights or as an emergency backup. Ventilation is critical in damp climates.
- Single-wall tent: Lighter and simpler than double-wall, but manage condensation with vents and pitch selection.
- Double-wall tent: Heavier, but forgiving in wet weather and windy ridges. Great for learning because error margins are wider.
Sleep system: Aim for a combined R-value and temperature rating that matches the overnight low. Many beginners under-insulate the ground side. A high-quality sleeping pad with adequate R-value often matters more than a slightly warmer bag.
- Pad: Closed-cell foam (bombproof, no punctures) or inflatable (warmer per weight, but fragile). In cold weather, stack foam under inflatable for redundancy and warmth.
- Bag or quilt: Down is lighter per warmth but needs care; synthetic handles damp better. Quilts save weight if you sleep still; bags are more forgiving for restless sleepers.
- Liner and pillow: A liner adds warmth and protects the bag. A small pillow or jacket-stuffed pillowcase reduces neck strain and improves sleep quality.
Clothing: Pack clothing by function, not fashion. A simple grid covers most trips:
- Base: Wicks moisture. Wool or synthetics. Bring sleep-only socks and a dry base top for camp.
- Mid: Traps air. A light fleece or active insulation jacket covers moving warmth. A loftier puffy is for camp and rest.
- Shell: Blocks wind and rain. A lightweight waterproof jacket and wind pants or rain pants, depending on forecast.
- Extremities: Warm hat, brimmed cap, light gloves, and camp socks. In cold, add vapor barrier socks to keep liners dry.
Run “cold-start drills” at home: put on full clothing system, sit on your pad, and time how long it takes to stop shivering after exertion stops. If it’s more than a few minutes in expected weather, increase insulation or add calories.
Cooking, stoves, and water: simple, safe, and efficient
Backcountry kitchens fail for three reasons: over-complication, poor fuel planning, and sloppy hygiene. A clean, compact system avoids all three.
Fuel and stove: Canister stoves are fast and simple, alcohol stoves are ultralight but slower, and liquid fuel excels in sub-freezing conditions. Always use a stable surface and a windscreen compatible with your stove. Weigh your canister before and after trips to calibrate burn rates; keep a note in your phone so you know how many boils to expect per gram.
Cook kit: One small pot (750–900 ml for one, 1.2–1.5 L for two), a long spoon, a lighter plus a backup ignition source, and a cozy (insulated sleeve) for rehydrating meals. Skip heavy multi-piece sets.
Menus that work: Choose foods that require minimal cooking—instant grains, couscous, ramen with add-ins, dehydrated meals. Breakfast could be oats with nuts; lunch often needs no cook: wraps, cheese, jerky, or nut butter. Carry an emergency day of food with high-calorie density.
Water logistics: Combine one larger reservoir for camp and two smaller bottles for quick access. Label one bottle “raw” and one “clean” to prevent cross-contamination. In freezing conditions, store bottles lid-down to keep ice away from the mouth and place them inside the sleeping bag overnight.
Hygiene: Separate a tiny “kitchen cloth” for pot handling and cleanup. A drop of soap at home, not in streams. Strain food particles before disposing of greywater by dispersing it broadly away from camp and water sources.
Navigation, risk checks, and communication
Good navigation keeps you from turning a microadventure into a long night out. Build redundancy and simple habits.
- Primary and backup: Phone mapping app with downloaded offline maps plus paper map and compass. Practice basic bearings and handrails (ridges, streams, fences) before the trip.
- Checkpoints: Set three “confirm points” on your route—obvious terrain features you must pass. If you miss one, stop and reassess rather than pushing on.
- Turnaround rules: Decide in advance: “If we haven’t reached X by Y time, we camp or turn.” Pre-committing reduces risk of poor decisions under fatigue.
- Communication: In patchy coverage areas, a satellite messenger adds a safety margin. Keep messages concise and pre-scripted. Always leave a plan with a trusted person including route, group, and return window.
Wildlife awareness is part of navigation too. Give wide berth to nests, dens, and game trails. Secure all food and scented items in odor-resistant bags and hang or harden your storage depending on local guidance.
Leave No Trace: ethics that actually work in the field
Leave No Trace is less about memorizing seven principles and more about day-by-day, site-by-site decisions that minimize your presence. A practical, field-ready approach looks like this:
- Access: Plan legal access and choose durable surfaces for travel and camp. Rock, gravel, dry grass, and snow are preferable to living soil and delicate plants.
- Camp: Tuck into previously impacted sites when they exist; if none, select a durable surface and dismantle any temporary markers before you leave. Arrive late, leave early, and keep conversations and light low.
- Waste: Pack out all trash and used hygiene items. Where local rules allow catholes, dig 15–20 cm deep at least 60–70 m from water, trails, and camp. In some places, you’ll need to pack out solid waste; know the rule and equip accordingly.
- Fires: Prefer stoves. If you build a fire where it’s permitted, use small established rings, burn only small dead-and-down wood, and extinguish fully. Better yet, enjoy a candle lantern or no flame at all.
- Wildlife: Observe quietly from a distance. Secure food and avoid feeding animals. Insect pressure is part of wild camping; head nets and clothing are better solutions than leaving microtrash from repellents or coils.
- People: Be courteous and low profile. If someone else is nearby, offer space. If landowners approach, be respectful and ready to move.
Carry a tiny “repair-and-restore” kit: a bit of cord, a needle, tape, and a small trash bag. Fix a loose guyline, pick up stray litter, restore a dismantled cairn if it’s part of a legitimate trail. Stewardship is a habit, not a slogan.
Setting up camp: a repeatable 15-minute routine
Camp setup is where small habits produce big comfort. The goal is the same every time: dry, level, wind-aware, and tidy.
- Stop and scan: Before dropping your pack, take a slow 360-degree look. Assess wind, slope, dead branches, and foot traffic lines. Verify your 60–70 m from water and out of view from trails or homes.
- Footprint down: Mark your shelter footprint with a groundsheet or simply visualize it. Clear sharp debris, flatten hummocks with your boot.
- Shelter first: Pitch the shelter tight. In wind, stake windward corners first and keep the profile low. If using a tarp, set a ridgeline at shoulder height and lower for gusts.
- Sleep ready: Lay out the pad, inflate if needed, and place your bag and pillow. Put sleep-only socks and a hat in the bag so you don’t hunt later.
- Kitchen corner: Pick a safe, flat cooking spot downwind of shelter. Place a small sit pad. Stage water and food.
- Weather-proof: Ventilate. In humid conditions, open vents and orient doors away from dew and prevailing wind. In rain, dig micro-channels is rarely necessary and often harmful; better to re-pitch tighter.
- Tidy and stage: Put headlamp, map, and warm layer in the same spot every time. Place shoes under a vestibule or in a bag to stay dry.
Rehearse this at a local park or backyard until you can do it in 15 minutes without rushing. In the field, the routine frees your brain to enjoy the evening.
Common mistakes and how to fix them
Everyone makes mistakes. The difference between a forgettable mishap and a miserable night is how quickly you notice and correct it. Here are frequent errors and quick fixes:
- Pitching low in a cold sink: Waking cold and damp? You’re in a hollow. Move a few meters up-slope or add a reflective layer under your pad. Vent the shelter to reduce condensation.
- Overstuffed packs: If you’re hauling 18–20 kg for a simple overnight, you’ve packed fears. Replace “just in case” items with skills: a practice tarp pitch instead of a second tent, or a repair kit instead of duplicate clothing.
- Cooking in the vestibule with poor ventilation: This invites condensation and hazards. Use a safe, stable outdoor kitchen under a tarp edge and keep the vestibule for storage.
- Ignoring wind direction: Windward-facing doors flood with rain and cold air. Reorient the shelter or re-pitch lower. Stake down every guyline in gusty conditions.
- Poor water discipline: Cross-contamination between “raw” and “clean” bottles is common. Label, segregate, and keep the caps clean. Treat more water than you think you need in the evening to avoid night trips.
- Late arrivals: Arriving in the dark amplifies every difficulty. Shift your schedule earlier or choose a closer objective so you still arrive with light.
Keep a “post-trip log” and note what worked, what didn’t, and what to change. Over three or four outings, you’ll eliminate most recurring issues.
Seasonal tweaks: from summer breezes to shoulder seasons
Wild camping changes with the calendar. Adjust your systems to avoid carrying a whole new kit for every season:
- Warm months: Focus on ventilation and shade. Swap heavier bags for lighter quilts, use bug nets, and favor tarp pitches that maximize airflow. Bring electrolyte tabs for hot hikes.
- Shoulder seasons: Expect cold rain and wind. This is when a double-wall tent shines. Add a mid-layer, increase pad R-value, and protect matches and lighters with waterproof cases.
- Cold snaps: Sleep warmth becomes a system: high R-value pad stack, warm hat, and pre-bed warm calories. Consider liquid fuel stoves and vapor barrier liners for feet to keep socks dry.
- Windy coasts or highlands: Lower pitch profile, more guylines, and sand or rock anchors. Carry extra cord—anchors are often farther from the shelter corners.
Seasonality also affects wildlife and human presence. In spring, avoid nesting areas; in fall, be mindful of hunting seasons and wear visible layers. In busy summer regions, the most discreet camps are weekday and off-peak.
Skills practice and fitness for easier nights
You don’t need to train like an athlete to enjoy a night outdoors, but a bit of conditioning pays back immediately. Two short sessions a week of step-ups with a pack and light mobility work make hills friendlier and sleep better. Pair fitness with skills practice:
- Pitch drills: Practice three shelter configurations—low storm pitch, high airy pitch, and a rapid “rain pitch.” Do it in a local park with wind.
- Navigation circuits: Create a simple orienteering loop in your nearest green space. Practice bearings, handrails, and finding micro-features like knolls or bends.
- Kitchen timing: Aim to have your stove lit and water boiling in under three minutes with cold hands. This trains layout and windscreen use.
- Sleep tests: Try your sleep system on a balcony or backyard in forecast conditions before taking it out. Adjust clothing and venting accordingly.
Skills reduce the number of “just in case” items in your pack. As your confidence increases, your base weight naturally falls without chasing expensive gear.
Care, maintenance, and repair habits
Gear that’s maintained well performs like new and lasts longer. Build tiny habits around each trip:
- Dry and air: Air your tent, bag, and clothing the day you return. Moisture trapped in loft collapses insulation; make “drying day” sacred.
- Inspect and fix: After every trip, check stitching, zips, and guy points. Patch small holes with appropriate repair tape and re-tie any cordage that’s fraying.
- Clean filters and stoves: Backflush water filters per manufacturer guidance and dry fully. Wipe stove jets and store canisters upright.
- Reproof shells: When rain beads stop forming, clean and reapply water-repellent finish. Focus on cuffs and shoulders where wear is highest.
- Label and log: Keep a small index card or phone note with service dates: filter backflush, DWR refresh, seam reseal. Five minutes of notes prevents guesswork before a trip.
Store packed “grab kits” for microadventures: a shelter bag with stakes and cord, a kitchen bag, and a sleep bag. When a weather window opens, you’re ready in minutes.
Checklists and packing lists you can use
Use these lists as a starting point and adapt them to your region and season. Each line hints at a system, not just an item.
Core kit checklist (solo, 3-season):
- Shelter: tarp + bivvy or tent, stakes, guylines, repair tape
- Sleep: pad with suitable R-value, bag or quilt, liner, pillowcase
- Clothing: base, mid, shell, hat, gloves, camp socks, warm layer
- Kitchen: stove, fuel, pot, lighter + backup, long spoon, cozy
- Water: filter, backup drops, bottles/reservoirs, raw/clean labels
- Navigation: map, compass, phone with offline maps, backup power
- Safety: small first-aid supplies, blister kit, repair kit, headlamp
- Misc: sit pad, small trash bag, toiletry kit, sunscreen, insect head net
Camp routine checklist (print or save):
- Scan and select site; confirm distance from water and trails.
- Clear footprint and pitch shelter into the wind; stake tight.
- Lay out sleep system; stage warm layer and headlamp.
- Fetch and treat water; cook in a safe, ventilated kitchen corner.
- Evening tidy: bear-hang/secure food, organize small items.
- Morning: reverse—pack sleep, kitchen, shelter; sweep for microtrash.
Minimalist overnighter list (for a fair forecast):
- Small tarp or fast-pitch single-wall tent
- 3-season quilt and high R-value pad
- Light base layer for sleep, active layer for hike, shell, warm hat
- Canister stove, 750–900 ml pot, lighter, simple dinner, no-cook breakfast
- Filter + drops, two bottles, small repair kit
- Map, compass, phone with offline maps, headlamp
Group add-ons: shared shelter, larger pot, extra fuel, group first-aid, and clear roles (who pitches, who cooks, who navigates). Assign roles before leaving the trailhead.
Use a “weigh-in” session. Weigh each item once with a kitchen scale and store the data in a spreadsheet or note. You’ll see obvious cuts—duplicate clothing, oversized pots, redundant tools—and you’ll develop a sense for where a few grams buy real comfort, like a better pad or warmer mid-layer.
Case studies: putting the systems together
Two quick scenarios show how the systems in this guide fit together:
After-work ridge bivvy: Forecast is light wind, clear sky, 8–10 °C overnight. Goal is a sunset and sunrise on a quiet ridge. Plan a short approach with one backup site in a small hollow. Pack a bivvy, small tarp, high R-value pad, light quilt, wind jacket, and a compact kitchen for a hot drink and simple meal. Arrive by 18:45, pitch low and tight, cook downwind, secure food, and sleep. In the morning, reverse the routine and be back at the car by 08:00.
Shoulder-season forest tent: Forecast is showers and wind, 3–5 °C overnight. Goal is a secluded forest camp with a friend. Choose a double-wall tent, warmer sleep system, and a robust kitchen with windscreen. Find a durable surface away from water, pitch into the wind, and ventilate. Treat water in the evening to reduce night trips. Wear a dry base layer for sleep. In the morning, pack in the reverse order and walk out before the next band of rain.
In both cases, the same systems apply: a plan with backups, a shelter tuned to weather and skill, a simple kitchen, a hydration plan, and a tidy routine that leaves the site better than you found it.
Bringing it all together
Wild camping rewards preparation and humility. You’ll never control the wind or the rain, but you can control the systems you carry and the habits you practice. Start close to home, pack for the night you expect, carry a little redundancy for the things that matter—sleep, shelter, light—and treat every outing as a chance to improve. If you keep your footprint small, your setup consistent, and your judgment calm, you’ll discover how little you need and how much you gain from a quiet night outside.
For more practical articles, checklists, and route ideas aligned to this guide, visit the Wild Camping category on Best Sports Health and build your own variations of these systems for the landscapes you love.